Grace suggested if you ask me that I might do a post on how I might start doing my makeup. So I’ve made this tutorial type thing for one of my preferred make up styles for a Goth event or just a night I feel like looking a bit formidable! Obviously this is not befitting everyday or every clothing, but it’s only a nice, colorful and fun style.
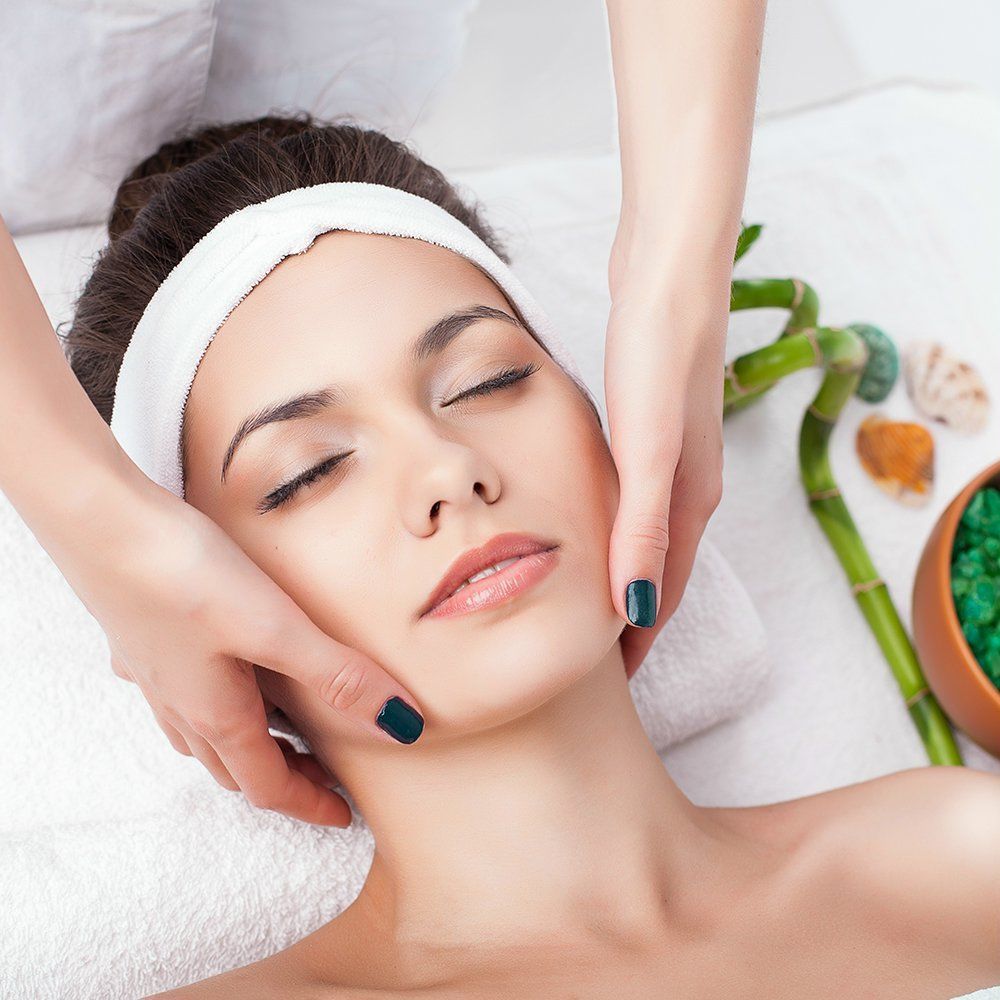
I’ve also integrated some photos of most of the various tools I’ve found to cause this to be. Includes some UGLEH photos of me without foundation on! Not all folks can be beautiful I was’present naturally. Anyway, we go here! I am using my Coastal Scents 88 Color Palette as shown below.
I have circled to two colors I’ve used in red. Clean your face and apply primer Firstly; make certain to pay special focus on your eyelids and any areas which may be less constant texture-wise than the others of your face. Apply the Now, lighter green all over the lid with an over-all eyeshadow brush, and be certain to mix it into the crease of your attention.
- Keep portable space heaters at least 3 foot from whatever can burn
- An evidently never-ending pipeline of lucrative content
- Check in (v.), check-in (n.)
- 15 drops Geranium Essential Oil
- Ancient fashion trends
Also, I like to put in a green lining with the same eyeshadow under the eye with an angled brush to make it ‘pop’ more significantly. The photo above shows the difference between the optical eye with and without the green lining. Unless you enjoy it, obviously don’t include it. Next we apply the dark green over the majority of the lid, however stay away from the inner corner to conserve the nice gradient. As before, make sure to blend well into the crease; I find a very good way to do that is to mix it whilst your attention is open up, sweeping across with your vision as wide as it could go.
Now we apply the black to the external corner of the attention and up into the crease, in regards to a third of just how over the eyesight. Be sure you PRESS the black it, especially if your black eyeshadow is as crumbly and bad-a-quality as the main one I used to be using when I did this.
Pressing decreases the amount of surplus that just falls around your face as opposed to a sweeping motion. However, if a bit is got by you of excess on your face, and you’re like me and aren’t a connoisseur of professional makeup brushes, dust over the region quickly with your largest powder clean just.
As I’ve said, blending is probably the most crucial thing about getting nice looking eye shadow, so I’ve ensured I’ve put in both a before and after blending photo. Above looks ridiculous Obviously, this is BEFORE blending. Which is after. I’ve combined the black out quite a lot, but I needed an extremely dramatic look. I also re-shape the edges of my eyeshadow by wiping off excess with a makeup remover and tissues; this also makes applying foundation easier around a far more contoured advantage. I know you’re generally a’pose to use foundation before-hand, but I lean of my face a lot and have excess everywhere often, so I find it easier to apply it after.